Pages


For you created my inmost being; you knit me together in my mother's womb
Psalm 139:13
Showing posts with label easy tutorial. Show all posts

Sunday, 14 February 2016

Sheepish Heart Bomb 2016


Can you believe it? This year is the third time I've joined in with Meredith's Sheepish Heart Bomb. I still think it's always a good idea to let people know they are loved, if only in a small, yarny sort of way. 

I sat crocheting (watching Legally Blonde, I might add) these pretty granny hearts yesterday, then released them into the wild today. A few things were different this year, actually. We live in a different city now, so it was fun thinking of a new place to leave them and I used a different pattern to make bigger hearts. I've pinned it here if you fancy making some. These were fairly speedy to do and look fab. I might make some for Christmas. 

Did you spread some love this weekend?


Tuesday, 25 November 2014

DIY: peg and ribbon Christmas wreath


Hey champs. I've seen a few similar peg/clothespin wreaths hanging around the magical world of Pinterest, but was so chuffed with how mine turned out I thought I'd share a cheeky tutorial! This wreath is hanging proudly on our door, waaay before we've even given thought to a tree. 
Here's how to make one (spoiler: it's embarrassingly easy).


You'll need: PVA glue (or similar), scissors, ribbon, baker's twine, cardboard (I used a glamorous cereal box), 21 wooden pegs.


Cut out two circles from the cardboard (I drew around a DVD for roundness!). Cut out the centre of each circle leaving a ring of a couple of inches. 


Cut a strip of ribbon for each peg. Glue them on.


Place the two rings together. Once the pegs are dry, peg them on!


Add a bit of baker's twine for hanging, some sort of conveniently matching decoration and you're done! I love what a simple make this is and how you could change it up by using paint or washi tape instead of ribbon. Love love. 


Sunday, 16 November 2014

Christmas craft roundup


It's that time. 
Now we're into November I can no longer deny that Christmas is sooon. As such, aside from indulging in small amounts of I'm-not-ready panic, I've trawled through the Knit Happens archives (so you don't have to) and found some fun and easy craft ideas for Christmas. Bring forth the links, projects, patterns, recipes and ideas...


To hang about the place for festive cheer. Here's when I made these. 
This tutorial is pretty good.  


Remember the Crafty Christmas Club? There are still a load of great creative projects on there. Here's my guide to budget gift wrapping. 


This is by far one of my favourite festive makes. A wee bit fiddly but totally worth it. 
Find all the links and stuff you need here. 


This is super-tasty and doesn't require any time to mature. 
I've been saving jam jars all year for my Winter 2014 batch! 


Baker's twine, garden wire, cream yarn and some knitting needles. I-cord is go!


This is so quick to whip up and yes, it fits an iphone. 


I've also been really inspired by Kate's Christmas craft roundup at Greedy for Colour. As you'd imagine, there are lots of brilliant tutorials for colourful yarny treats and washi tape ideas. The confetti pompoms and cute hot air balloons are high on my list!

What are you making for Christmas? 

Wednesday, 9 July 2014

off the needles: herringbone mitts


Shock horror, I've actually finished something. Bet you're glad you were sitting down for that bombshell. Remember when I got all excited about this stitch? Well, I've finally finished a pair of fingerless mitts for Mr P. As usual, all the details are on Ravelry here. 
It's a gorgeous free pattern by Kat Goldin. 

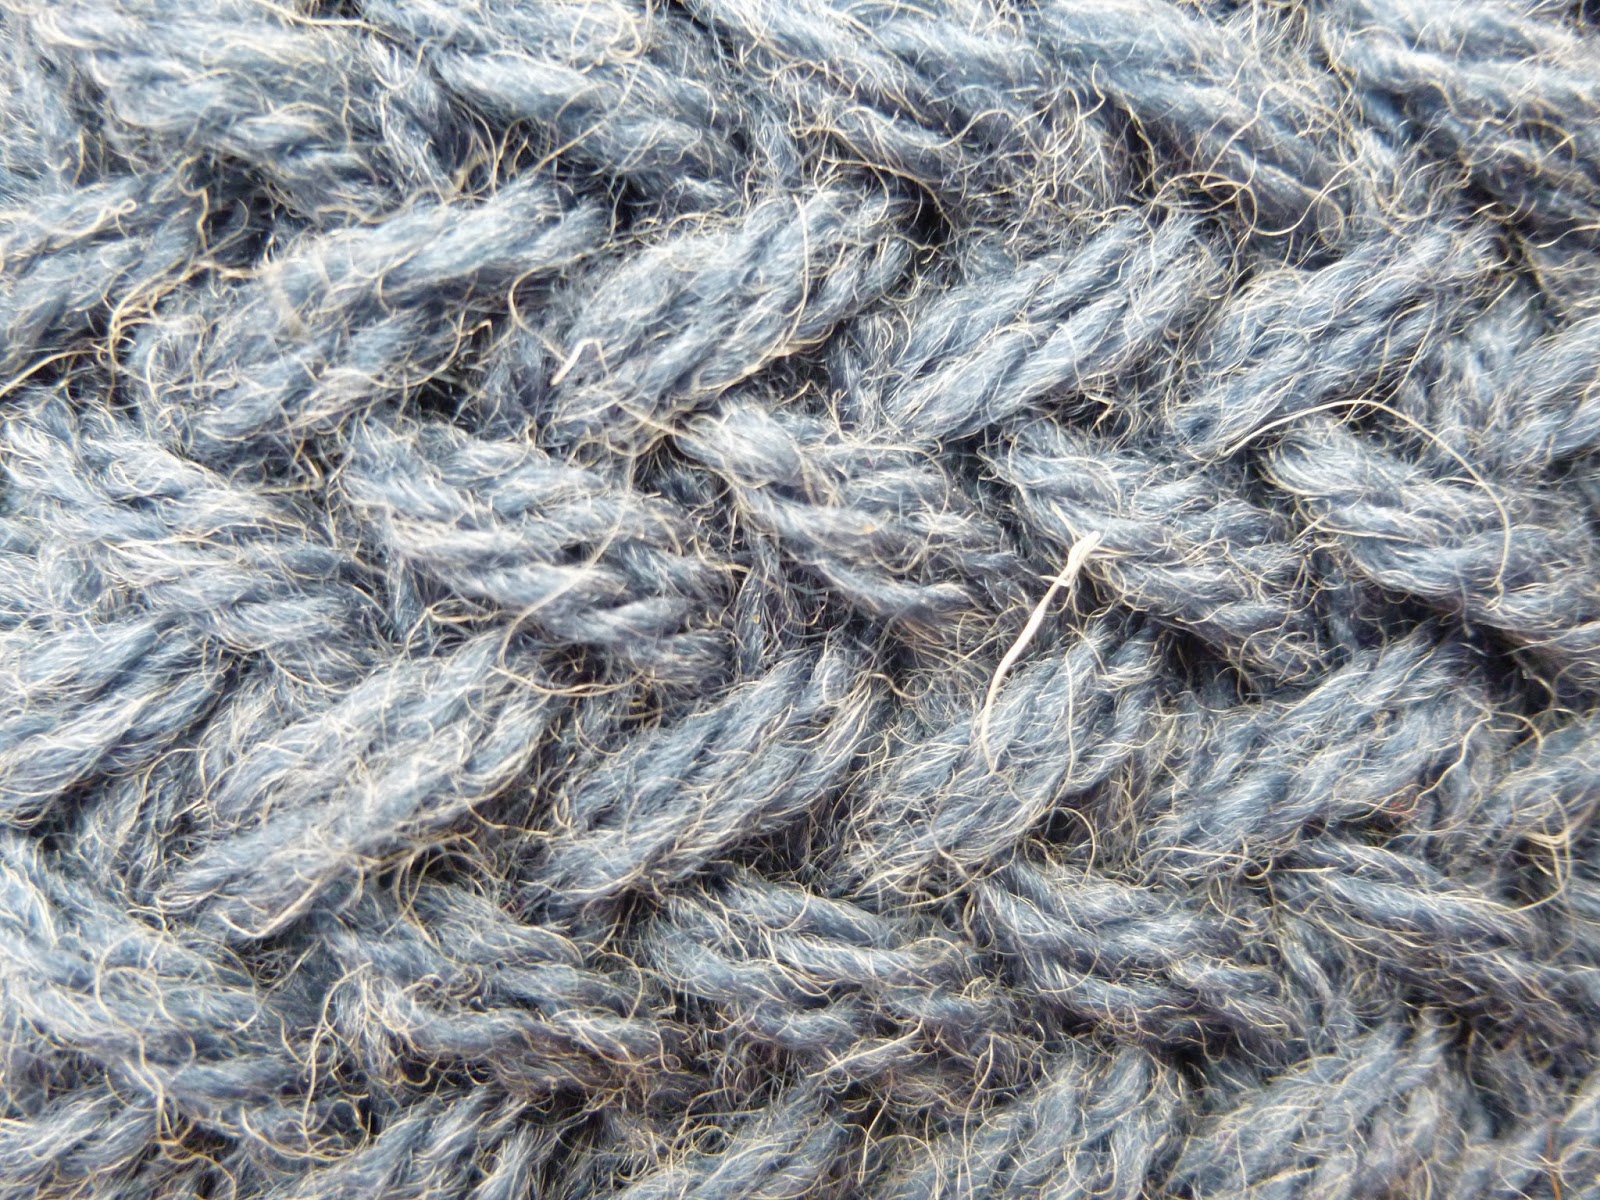
The beauty of herringbone stitch is that it looks complex and intricately woven, but it's really just a fairly simple two row repeat. I checked out Youtube and found that there's a few different ways you can work this stitch, but this is the method I used - so easy. I'm pretty much head-over-heels for this stitch, and now have a few herringbone Christmas knitting ideas brewing in my mind tank. 

It certainly feels good to finish a project that I'd neglected for so long. Phew! My crafty goals for the rest of the month are to crack on with my big pink crochet blanket and to tackle another amigurumi project. What are you working on/totally neglecting at the moment? 


Saturday, 5 April 2014

a happy bunny


Easter is approaching and I thought I'd knit up a quick egg cosy using my bunny pattern. I got my needles out and settled down to it, when to my horror I found that it didn't make any sense! Oh, the shame. I've since revised and updated the pattern (and added a cute pom-pom tail). So, here it is - a better bunny.  


Grab some DK yarn and 4mm needles.

The Cosy
Cast on 28 stitches.
Row 1 Knit.
Row 2 Knit.
Row 3 Purl.
Starting with a knit row, work 16 rows in stocking stitch (knit one row, purl one row).
Next Row K2tog, repeat to end of row. (14 sts)
Next Row Purl.
Next Row K2tog, repeat to end of row. (7 sts)
Next Row Purl.
Next Row K2tog, repeat to last st, k1. (4sts)
Next Row Purl.

Leaving a long length to stitch with, snip the yarn. With the sewing needle, thread the remaining yarn through the last 4 stitches. Pull them together and tie off. Turn your cosy inside out so the smooth side is on the inside. Now with the length of yarn stitch together the back seam. Turn your cosy round the right way. Ta da! It should look like a little egg-sized hat.

The Ears (make 2)
Cast on 6 stitches.
Row 1 Knit.
Row 2 Knit.
Row 3 Purl
Continue in stocking stitch for 16 rows.
Next Row K2tog, k2, ssk. (4 sts)
Next Row Purl.
Next Row K2tog, ssk.
Next Row Purl.
Snip the yarn, thread it through the last 2 stitches and tie off.

To assemble
Cut a length of yarn to stitch with and thread it through your needle. Fold the ears a little at the bottom and sew them into place on top of your cosy. Using some scrap yarn, stitch eyes and a nose on your bunny. Your bunny cosy is complete! If you’re feeling keen as mustard, you could give your bunny a pom-pom tail.


Sunday, 30 March 2014

ring of crochet roses


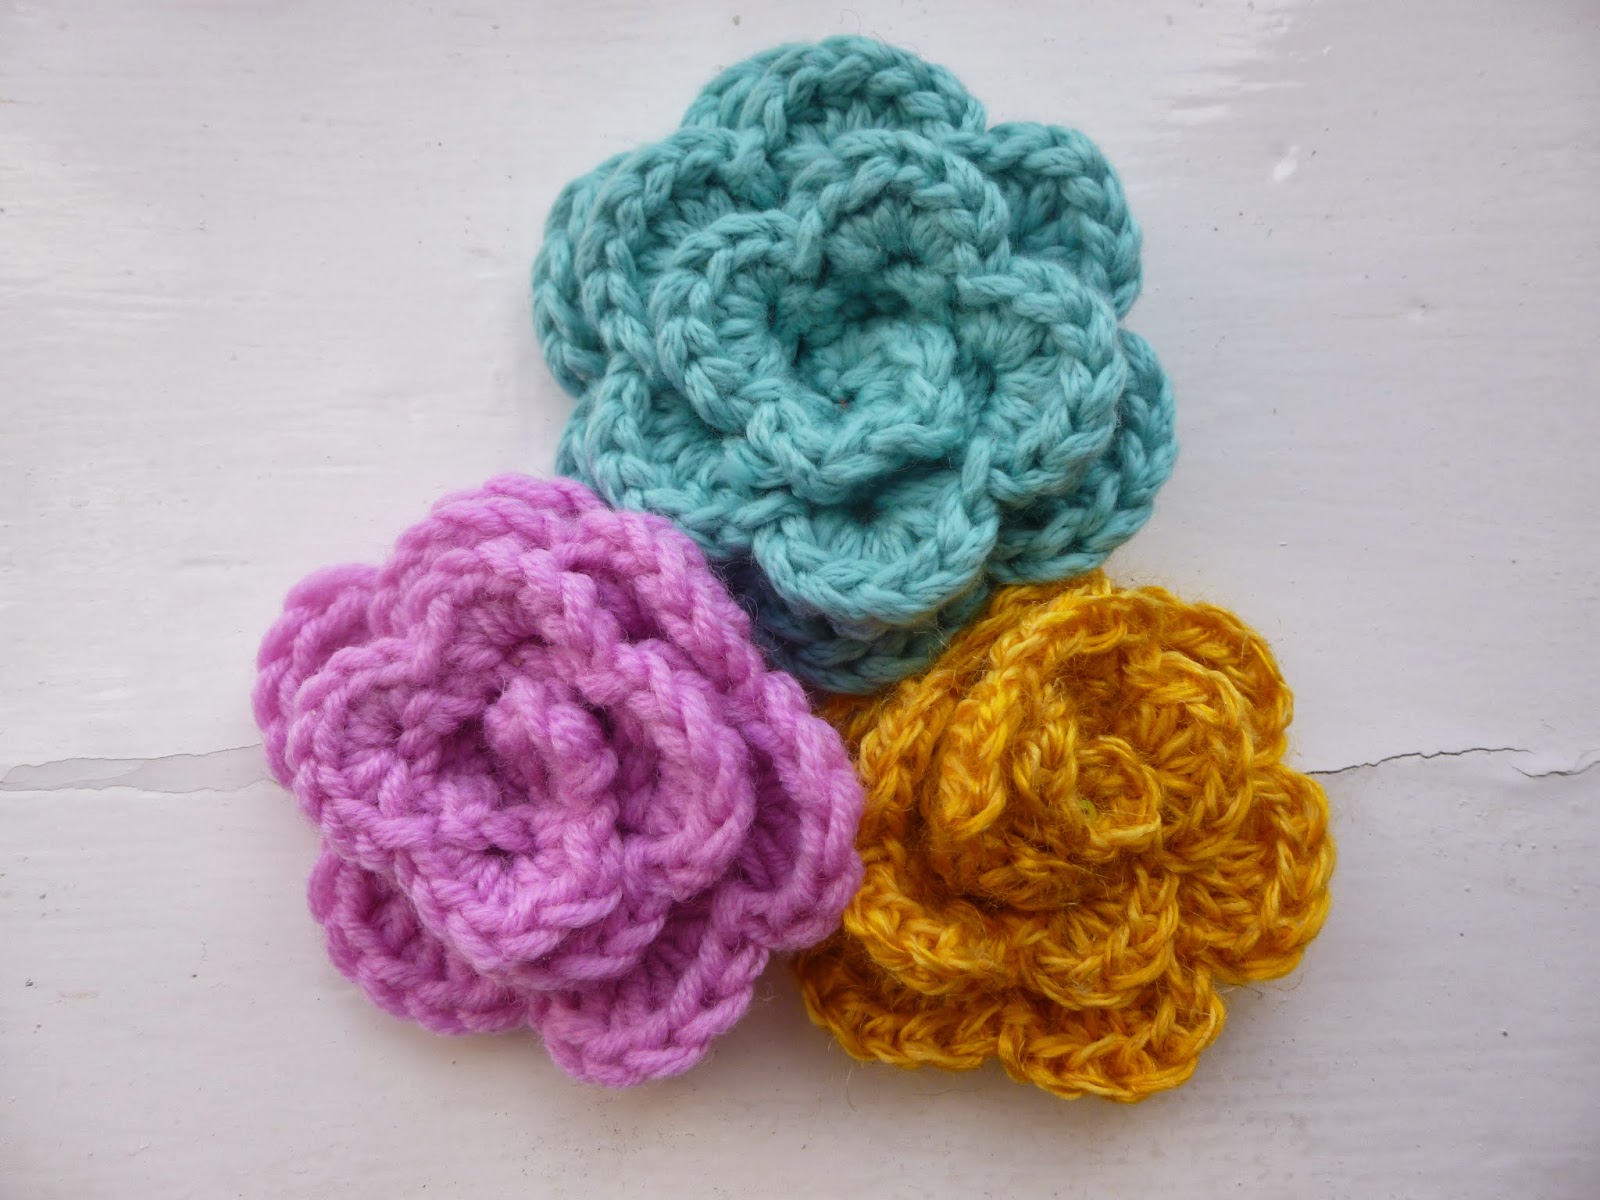
This week I've mostly been making these. Oh, how I wish I'd found this pattern before the wedding! Then I would have been very tempted to hook my own bouquet. Maybe it's just as well. Anyway, the pretty rose pattern is by Emma Leith (find it here), and I'm making then to join in with some Bath in Fashion yarn bombing. For each flower made, 10p will be donated to children's charity Kids Company. You can find out more about the project here. I'll be posting mine off this week! 


Monday, 23 December 2013

Easy knit: stripy phone sock


While you’re digging out those long johns and strapping a hot water bottle to your chest, pause for a moment to consider that other extremity you may overlooked; your mobile phone.  It’s a little known fact that each winter, hundreds of telephones fall victim to frostbite after being exposed to the elements.  Let’s put an end to this atrocity now.  Knit a cosy for your mobile and put your mind at rest.  (This is also one of the speediest, last-minute knit gifts known to mankind. Fact.) 

You will need a pair of knitting needles – 4.mm would be best, DK yarn in two different colours and a good sturdy sewing needle with a sizable eye.  A trusty pair of scissors is required, too. 
Cast on 30 stitches with your first shade. 
Row 1  Knit.
Row 2 Knit
Row 3 Purl
Row 4 With your second shade, knit.
Row 5 Purl.
Row 6 Change back to first shade, knit. 
Row 7 Purl.
Repeat Rows 4-7 a total of six times. You should have 31 rows. 
Cast off!  Leave a long tail of yarn at the end.  Thread your needle onto this yarn and sew along the bottom and up the long side on the inside (wrong side) of the cosy. 
Tie off the ends and weave in the loose strands.  Turn the right way round and your cosy is complete!
  

Sunday, 1 December 2013

Christmas DIY: easy knitted heart


Hey yarn lovers!

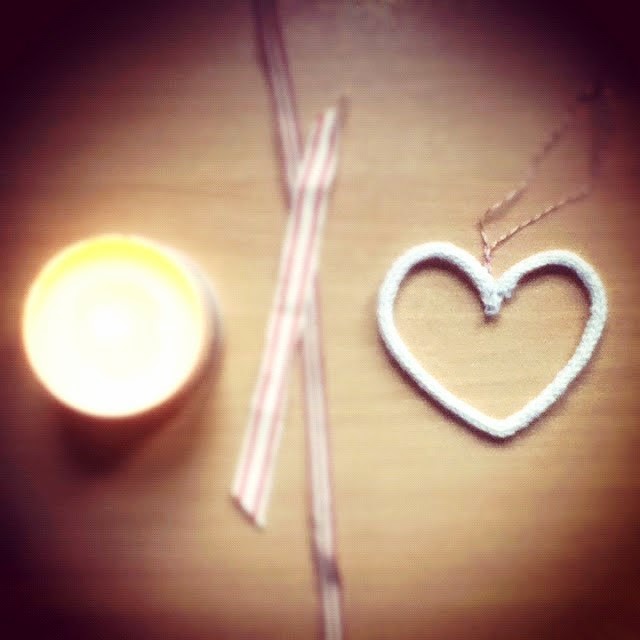
While I'm beavering away with top secret Christmas craft projects (may have to scale down the making and scale up the shopping) I thought it might be fun to share a bit of a how-to with you for one of last year's festive makes - the i-cord heart decorations.

You need some cream DK yarn (or a colour of your choice), two 4mm double-pointed needles, baker's twine and some gardening wire.

Cast on 4 stitches and work an i-cord for approx 20cms.
Need a hand with i-cord? Check out handy thingy this on the Purl Bee. Cast off and weave in ends.

Cut a length of the wire approx 25cms long. Thread the wire carefully inside your i-cord. Bend the wired cord into a heart shape. As I made more of them, I found it was actually best to have the two ends meet at the bottom of the heart rather than the top. Twist the two wire ends together to fasten.
Trim off any sharp ends.

Chop a bit of baker's twine or fancy pants ribbon, attach it to the top of your heart to form a loop. You're done! Repeat as desired.

Monday, 18 November 2013

DIY lace lanterns


Hey, crafty ones!

Thought I'd share a super-simple project with you that I devised for the wedding but have been loving lately - little lace lanterns! Back in September I spruced up a load of old jam jars for the tea lights at our wedding reception. Since we then had a load of them around the flat, I've popped some in the fireplace and the rest around the bathtub. I'll tell you what, other than bubble bath and a glass of something pink, nothing makes bath time feel fancier than one or two of these babies. I thought they also might make sweet gifts or awesome Christmas centrepieces, with festive ribbon or raffia.  

Yup, definitely candles in there.

So here's how to. You'll need a load of clean glass jars, some tealight candles, some wire (I used gardening wire), pliers to bend and cut said wire, PVA glue, lace, scissors and a selection of ribbon. 

1. Get snipping! Carefully cut out individual motifs from the lace, enough to arrange and fit around the main part of each of the jars. The lace I used had lots of huge flower sections, so I cut those out and layered up the smaller bits. 


2. Mix some PVA glue in a cup with water - I used a mix of roughly half and half. With a paintbrush, coat a jar with the glue mixture. Arrange some of the motifs around the jar until you're happy with the placement. Carefully paint a coat of the glue mixture over the top to seal the lace.  

3. Repeat the process for each of the jars. Place them upside down on some newspaper overnight to try. 

4. Wire and pliers at the ready. For each jar, cut a length of wire and wind it twice around the top of the jar. In the second wind, twist a part of the wire on each side to create two loops. These are for attaching the handles. Twist the two loose ends of the wire together tightly and fold or trim away any sharp edges. 

4. For each jar, take a second piece of wire roughly the same length as the last to make your handle. Create a heart shape in the middle of the wire and twist it. Loop both ends through the two loops of either side of the jar and fasten. 

6. Decorate your jars with ribbon, beads, glitter, whatever floats your boat.

Pop the tealight candles in and you're done!

They look all pretty and glowy in the dark.


Thursday, 29 August 2013

the summer of making: blooming teacups


Hello lovelies, hope you're all well.

It's now less than a month (eek!) until w-day, so I thought I'd post another project from our matrimonial makings  - vintage teacups with crochet flowers! Pretty, simple to assemble and packed with vintagey handmade goodness.

You'll need: A teacup, a handful of crocheted (or knitted, stitched or folded) flowers, a handful of toy stuffing/wadding, long pins, a scrap of cotton fabric that co-ordinates with the cup and a pair of scissors.


1. Make some flowers! You'll need about six per teacup. Stuck for ideas? I've pinned some pretty projects on this board (yes, I have succumbed to Pinterest. It was for work, *ahem*).

2. Lay the saucer face down on the fabric. Draw around it and cut the circle out. This circle will cover you wadding inside the teacup to form your 'oasis' or pincushion. 


3. Carefully stuff a generous handful of wadding into the teacup. Tuck all the edges of the fabric circle down over the wadding inside the cup.

4. Pin on your flowers, and you're done!


I have two more blue teacups and a whole load of crocheted flowers left so I'll be making two more of these. We went for bluey-greens, but pink, yellow or warm autumn tones would be lovely, or whatever works with your cups. These will make pretty wedding centrepieces, or decorations for any occasion - baby shower, birthday etc. Say it with teacup flowers!


Thursday, 22 August 2013

the summer of making: knit words & comic book confetti

It's the Mr Men socks that make it, I think.

Hello all!

I thought I'd share a couple of things I've been working on. Aside from crocheting like a mad woman and spending every spare moment reading The Chap's essays (he's not quite escaped studentdom yet), I've been preparing other crafty bits for the wedding. Pom poms aside, I think these two simple ideas might be my favourites so far - knitted wire words and comic book confetti.  


Back when I was in the throes of my romance with i-cord (remember this post?), I knitted up this little treasure. It looks really effective, but was so easy to do! With some DK yarn and two double-pointed needles, I just knitted an i-cord until it was long enough to spell out L-O-V-E (other words and phrases also rock). Then, I cut a piece of galvanised gardening wire (from a hardware store near you) a little longer than the cord, carefully threaded it through, bending back the sharp points on either end. Then I bent the wire to 'write' the word. I copied my own handwriting, so it looks like I wrote in yarn!

Meredith at One Sheepish Girl recently made a super-cool i-cord ampersand and shared a tutorial for it - check it out!  

When punching is the right thing to do.

Words are my thing and he loves comic books (ahem, graphic novels) so this one was a bit of a no-brainer, really. All we needed were some old books and comics that we could bear to part with and a wee heart hole punch. Love it. The punching continues. . .

Sunday, 4 August 2013

the summer of making: how to make pinwheels


Another paper project that's so easy I can't believe I wrote it down - I told you they'd be simple!

You’ll need your trusty pair of paper scissors and an old book you don’t mind cutting up (maybe that book from your uni reading list that you totally didn't read, your fifth copy of Pride and Prejudice or, you know, a book about women in Soviet Russia*).  Get yourself some drawing pins and some wooden barbecue skewers or chopsticks too. 

 1.      Tear pages from your chosen book and cut them into large squares.
2.      Take a square and fold it in half diagonally, corner to opposite corner.
3.      Fold this triangle in half again, corner to corner.
4.      Unfold your square and snip just a little over halfway along the diagonal creases.
5.      Take alternate points and draw them in towards the centre.
6.      Fasten these centre points to a skewer or chopstick with a drawing pin.
7.      Your first pinwheel is done!  Repeat as desired.


For a little pop of colour use vibrant pins. 

The fun part comes next - what are you gonna do with them? I reckon teeny tiny pinwheels would make really cute cupcake toppers or greeting card decorations. We popped ours in a vase (highly original). What would you do with them? I'll race you to Pinterest  . . .

*We're also using this book to punch out heart confetti for the wedding. Sometimes we end up with ones that say 'chauvinism' or 'mistreated' and have to bin them. It's just not romantic.
Related Posts Plugin for WordPress, Blogger...